How to create a chatbot on Rongochat:
Step-by-Step Guide
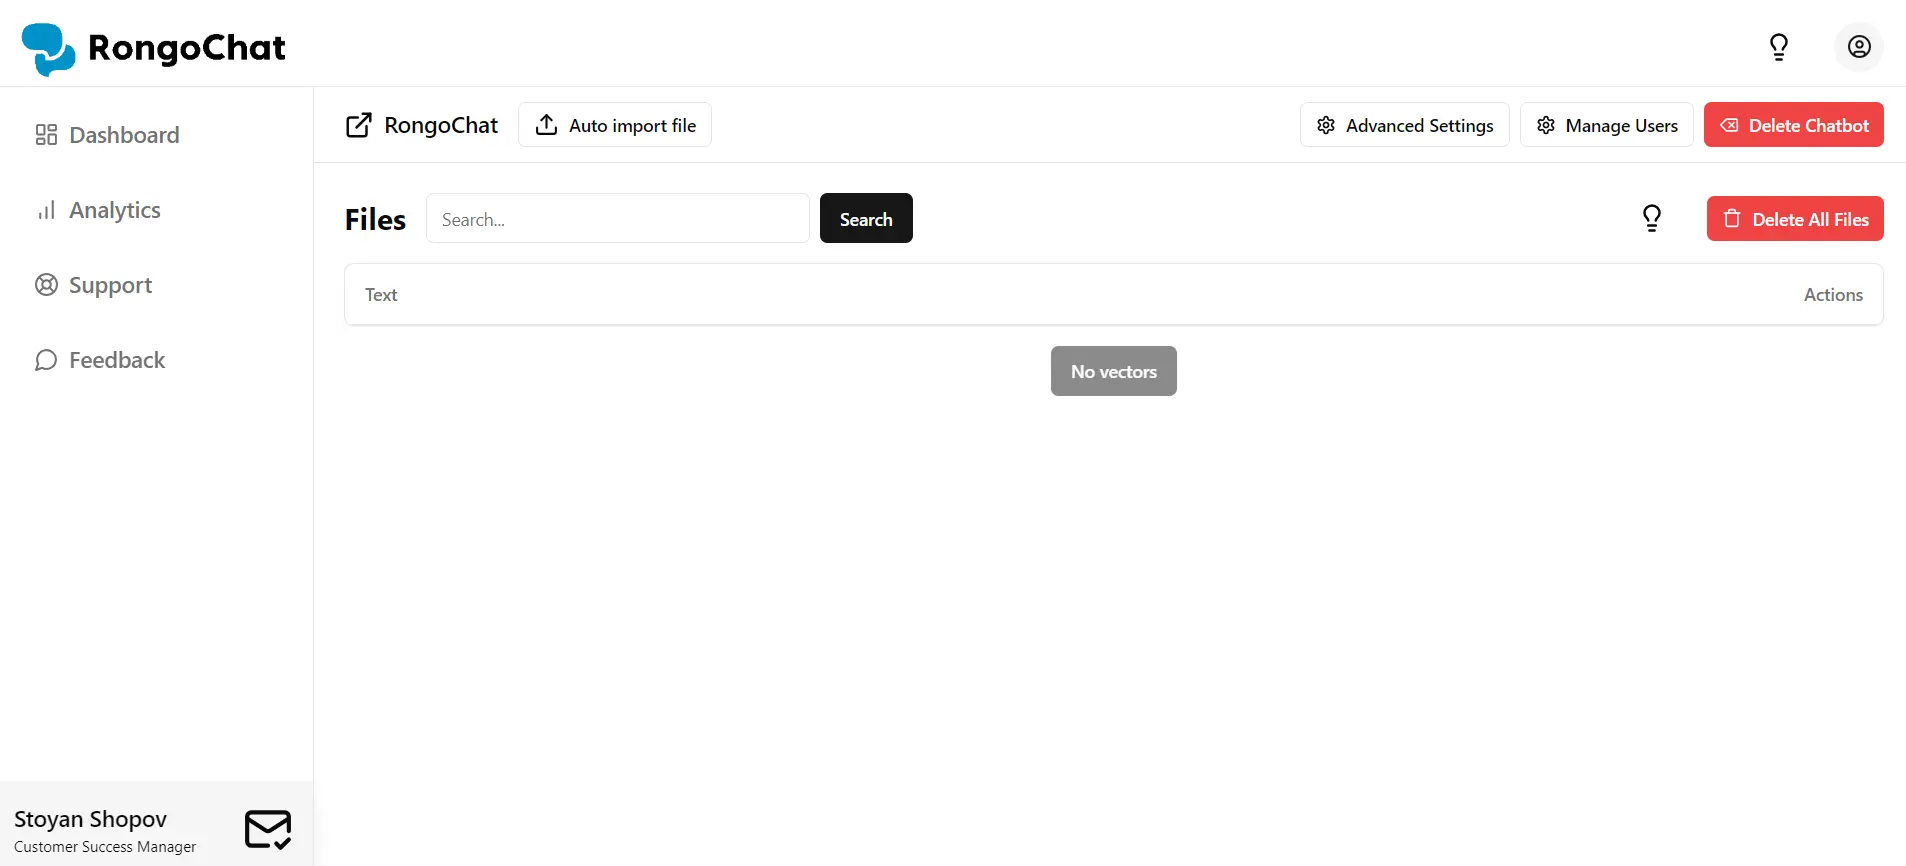
Why even make a chatbot?
Chatbots have become an essential tool for businesses and developers looking to enhance user experience, streamline customer service, and engage audiences in innovative ways. With the rise of AI and machine learning, creating a chatbot is no longer a complex task reserved for tech experts. Rongochat makes it easier than ever to design and deploy chatbots tailored to your specific needs.
Step-by-step guide on creating a chatbot in RongoChat
Step 1: Sign Up or Log In to RongoChat
Begin your journey by visiting the Rongochat admin panel. If you’re new, sign up for an account. Existing users can log in and jump straight into the action.
Step 2: Select a Package for Your New Chatbot
After logging into your Rongochat account, you'll be directed to your dashboard. If you don’t already have a chatbot, you’ll be prompted to start the creation process by selecting a package. Rongochat offers various packages designed to meet different needs, if however they don't meet your demands feel free to contact us.
To begin, carefully review the available packages and choose the one that best aligns with your chatbot's goals. Once you've made your selection, click the "Next" button to proceed to the chatbot creation process.
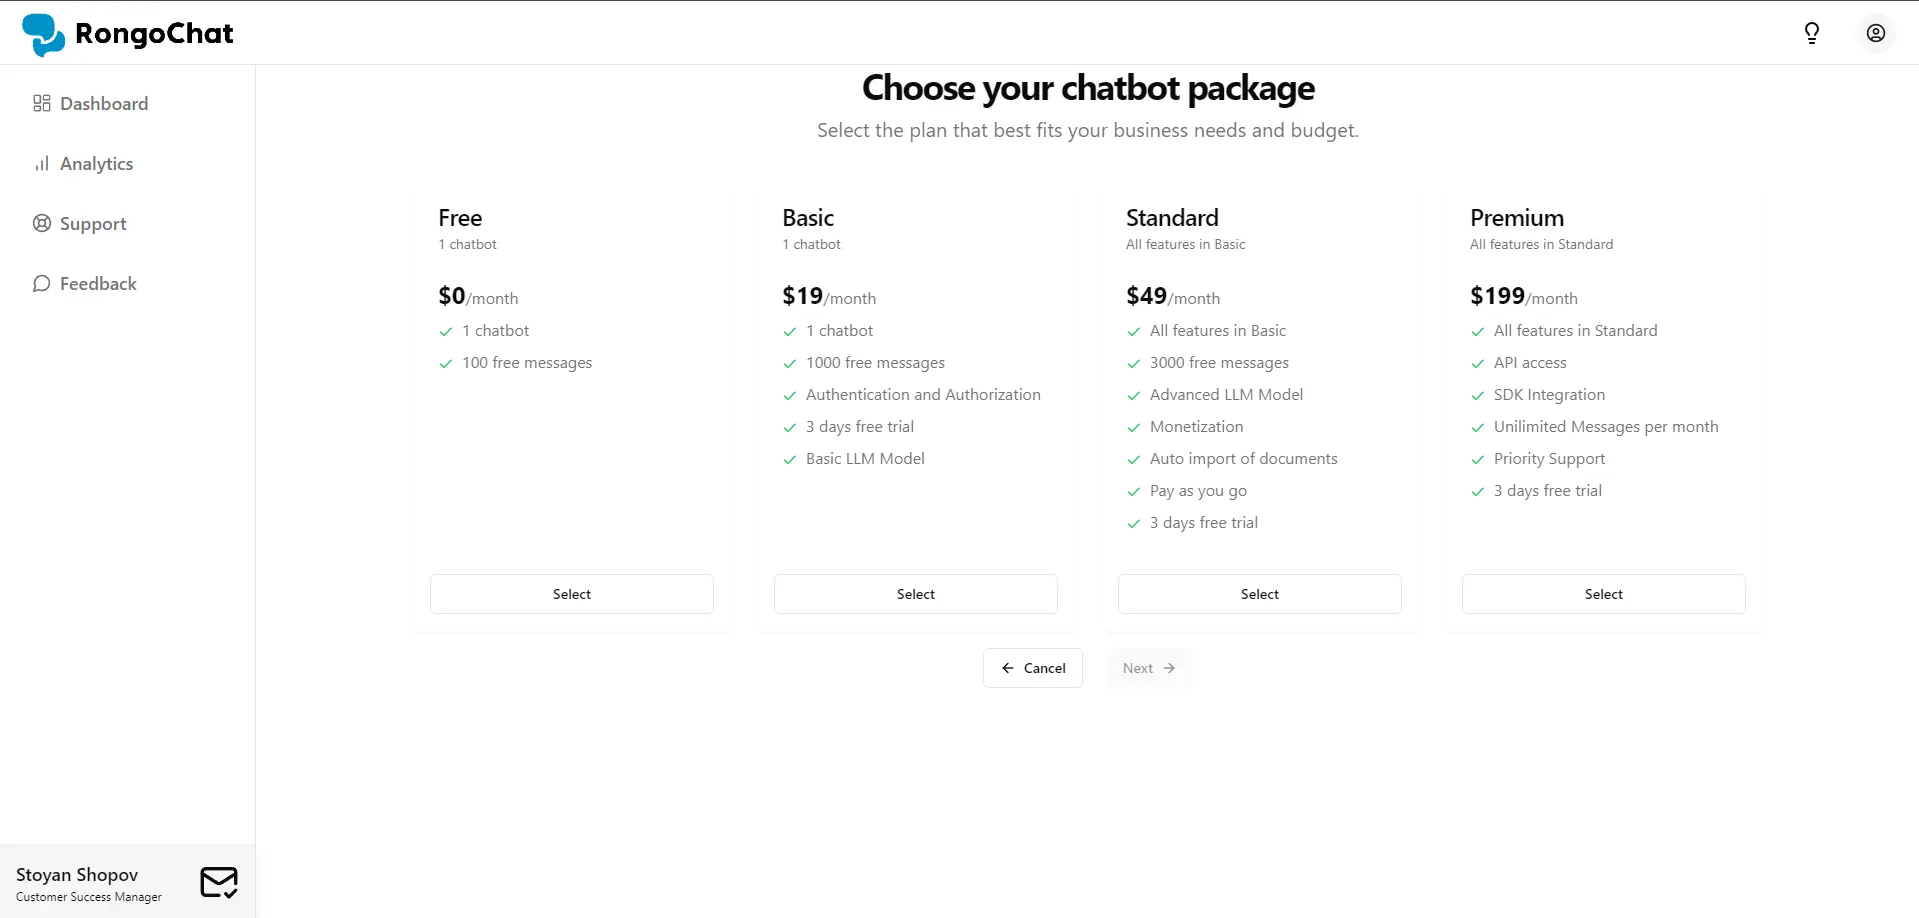
Once you’ve selected your package and clicked "Next," you'll be guided to the configuration of your new chatbot.
Step 3: Configure Your Chatbot’s Settings
After selecting your package and pressing "Next," you’ll arrive at the configuration step—the final phase of the chatbot creation process on Rongochat. Here, you have the option to choose between Simple and Advanced modes, which you can switch dynamically at the top of the screen. The Simple mode is perfect for those who want to quickly set up a chatbot without delving into detailed configurations, or for those who prefer to experiment with the settings on the fly.
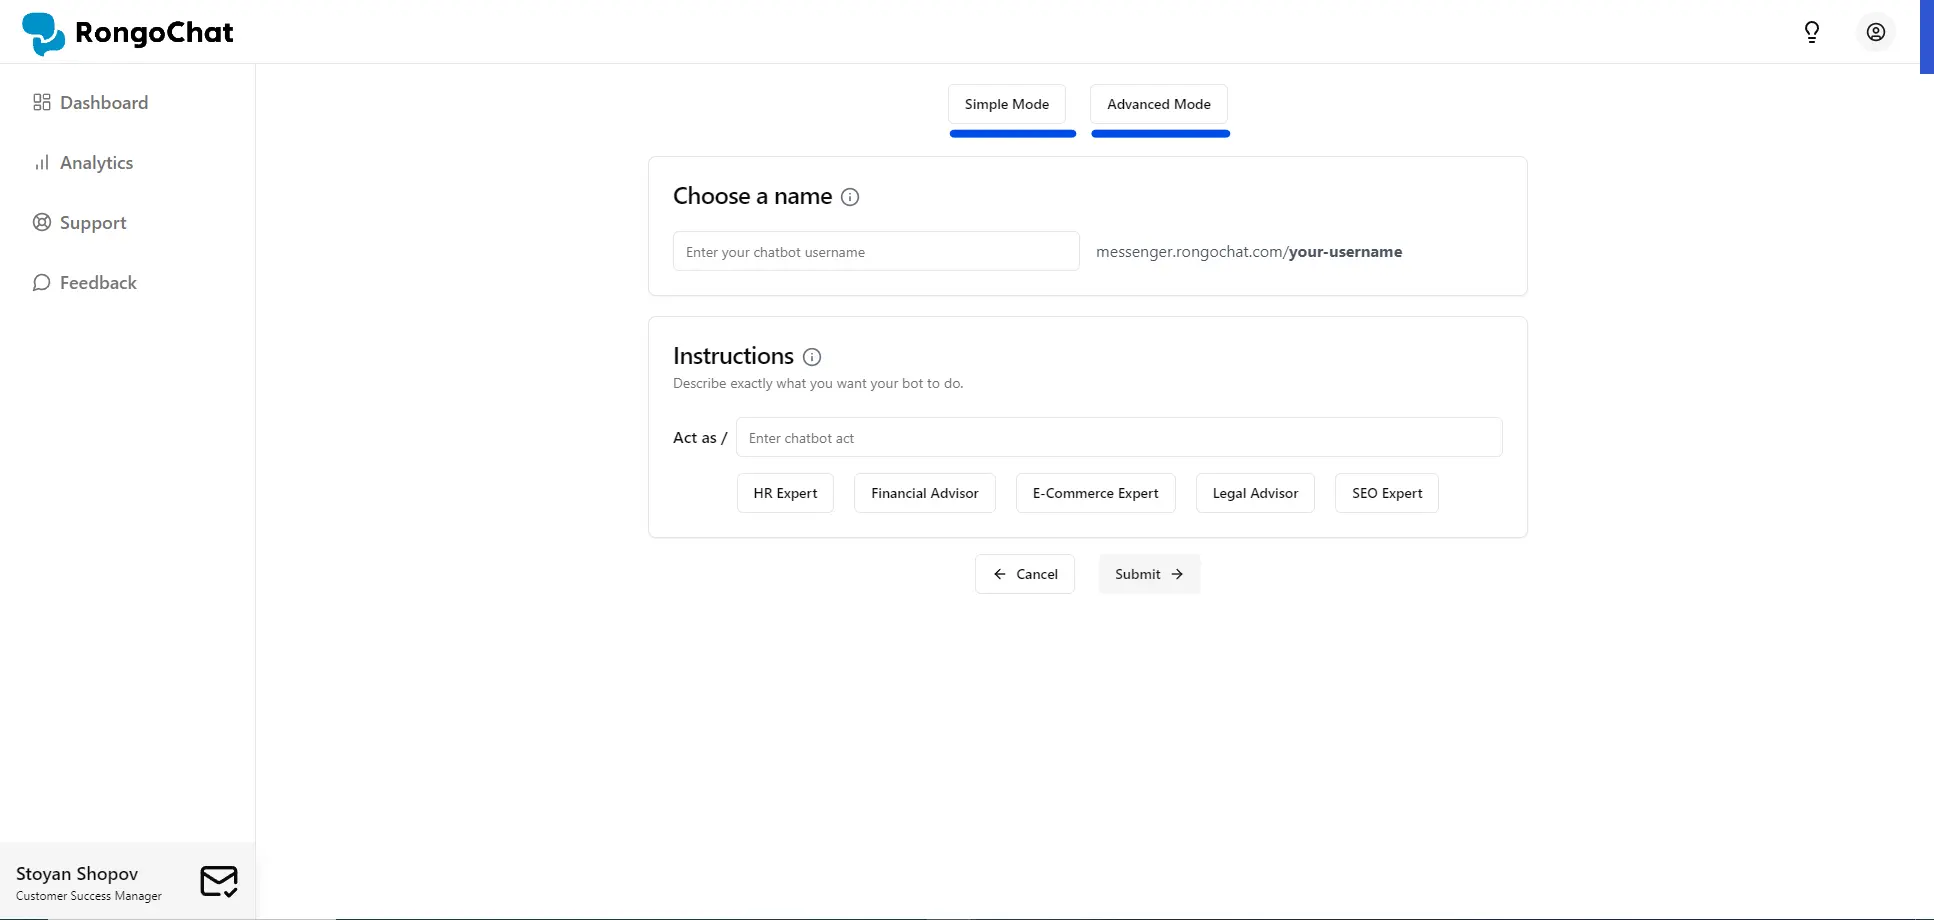
As you configure your chatbot, you’ll find helpful tooltips. There however is a more detailed tips popup window that can be accessed by clicking the lightbulb icon located in the header. These resources provide guidance and best practices.
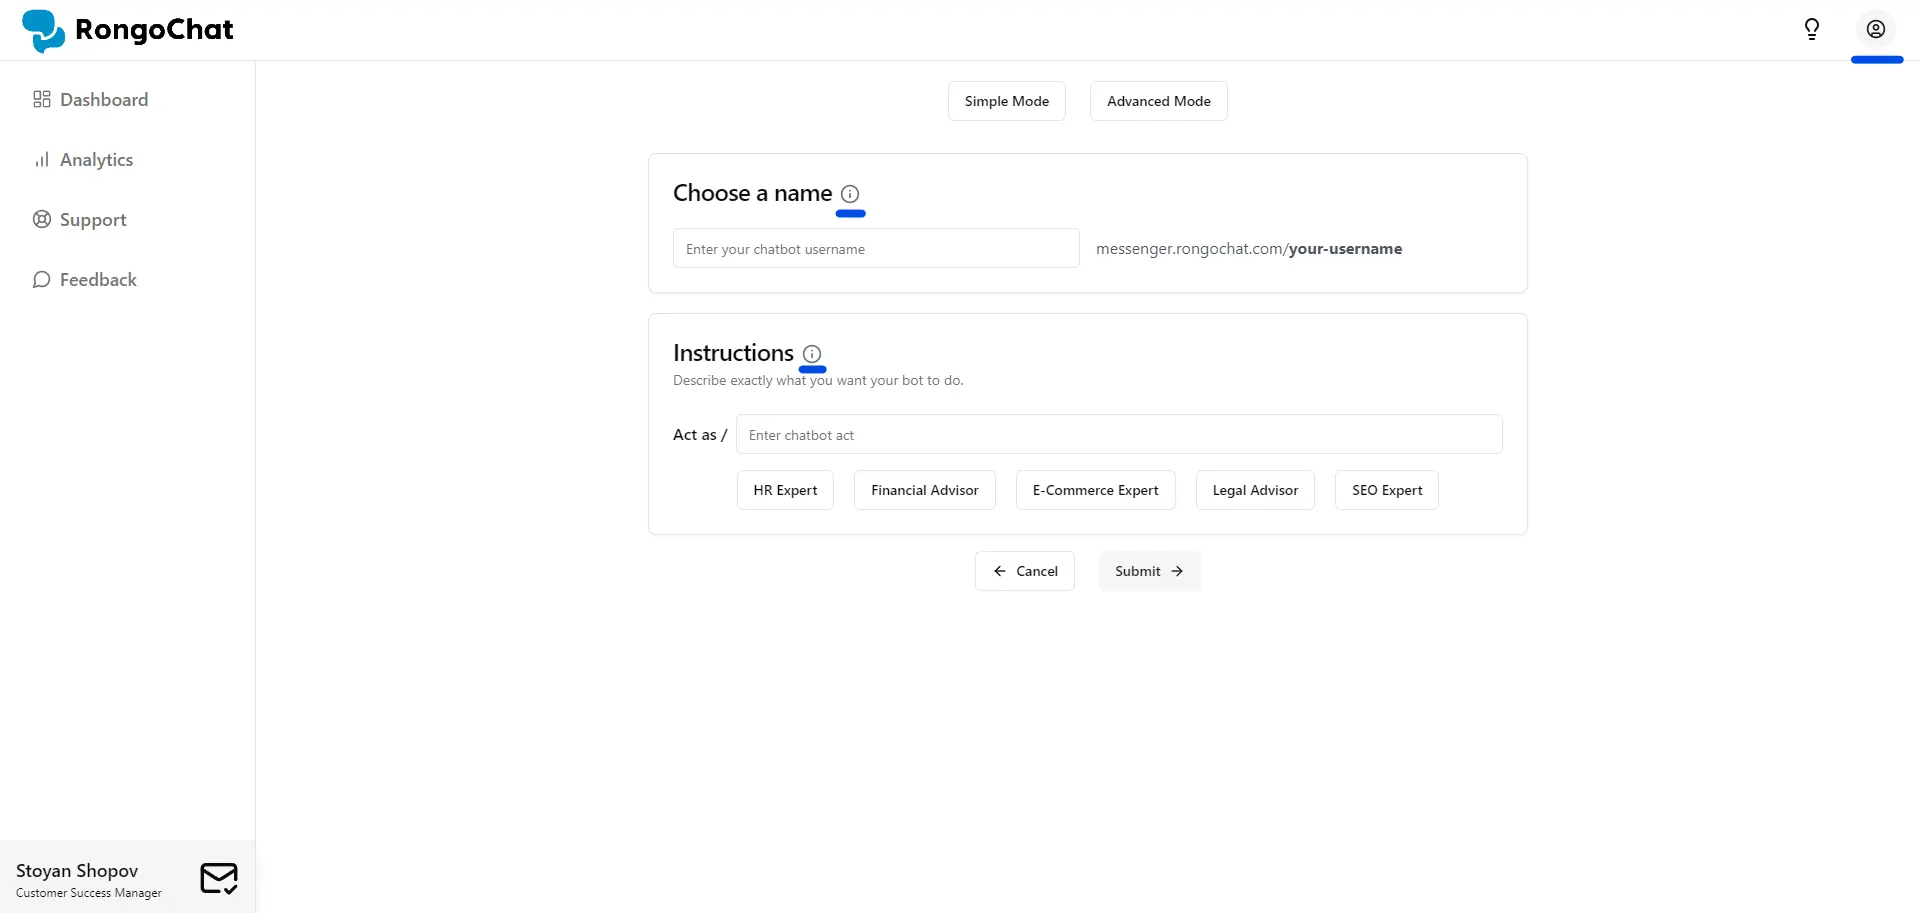
Once you’re satisfied with your configuration, simply press the "Submit" button to finalize your chatbot.
Step 4: Complete Your Purchase and Access Your Chatbot
After finalizing the configuration of your chatbot and pressing "Submit," you will be automatically redirected to the payment window. Here, you can review the details of your chosen package and proceed with the payment to activate your chatbot.
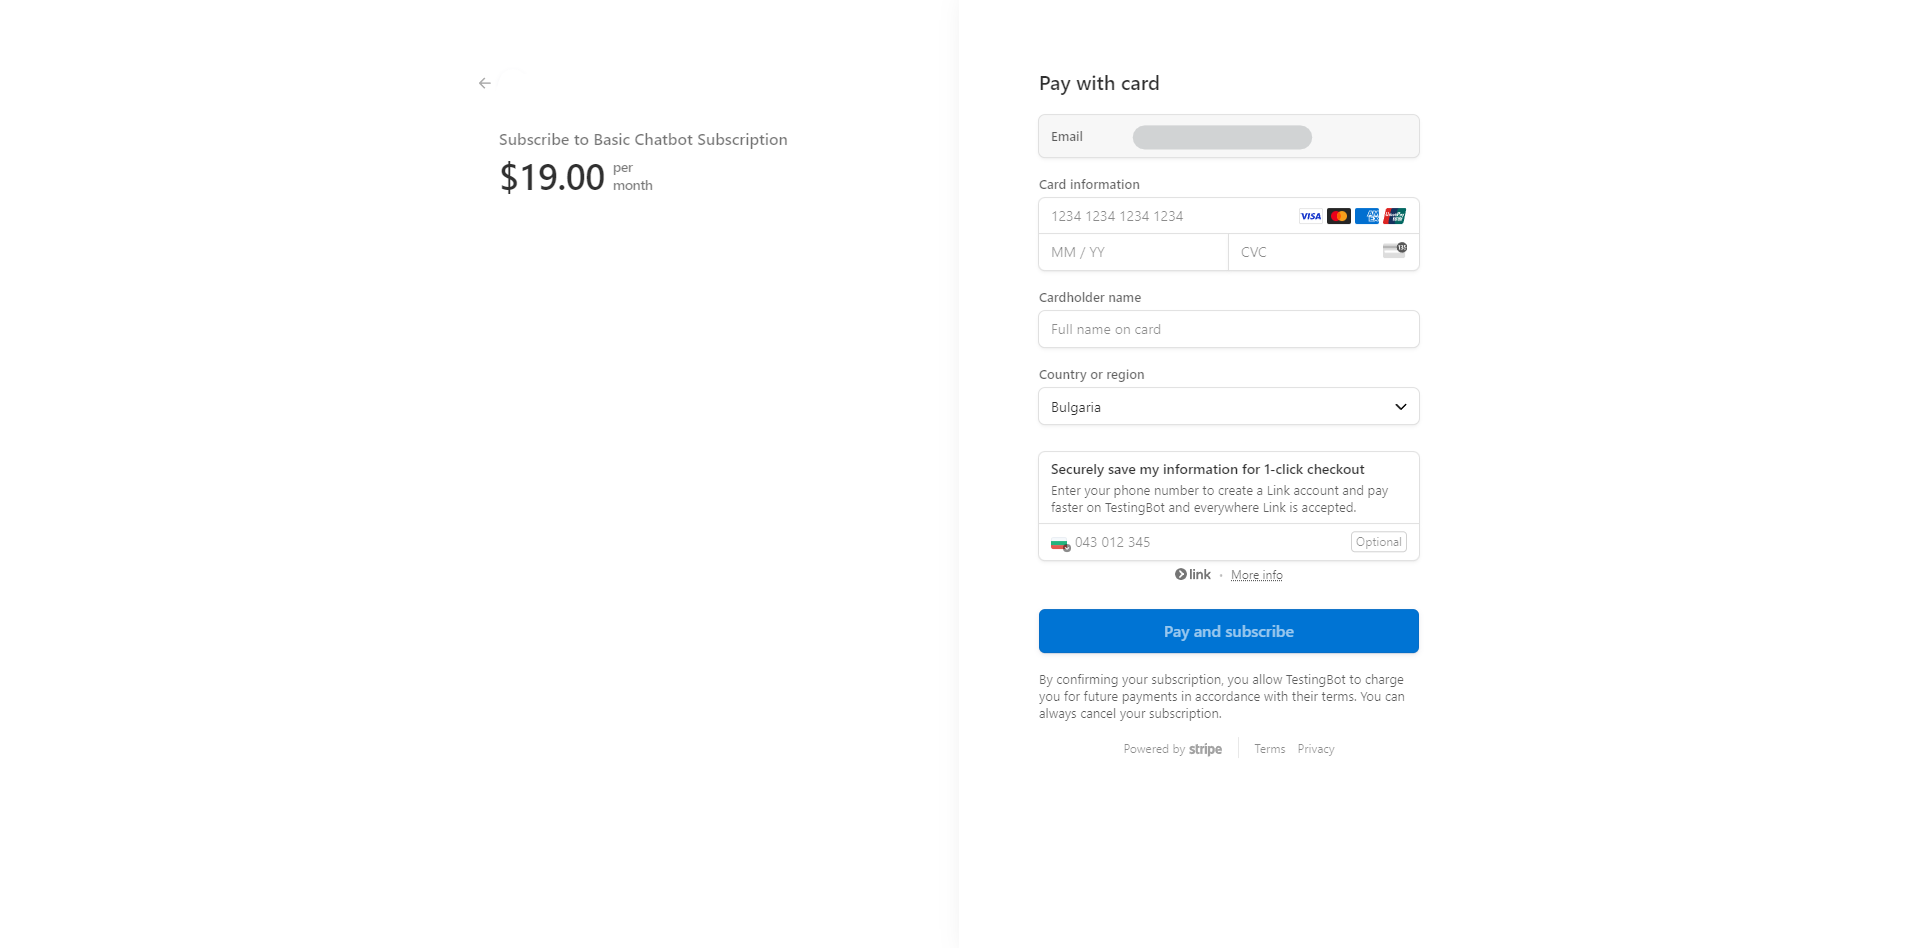
Once the payment is successfully completed, you will be redirected to the dashboard. Here, you’ll find your newly created chatbot. You can now start interacting with your chatbot, monitor its performance, and make any necessary adjustments using the tools available in the management page.
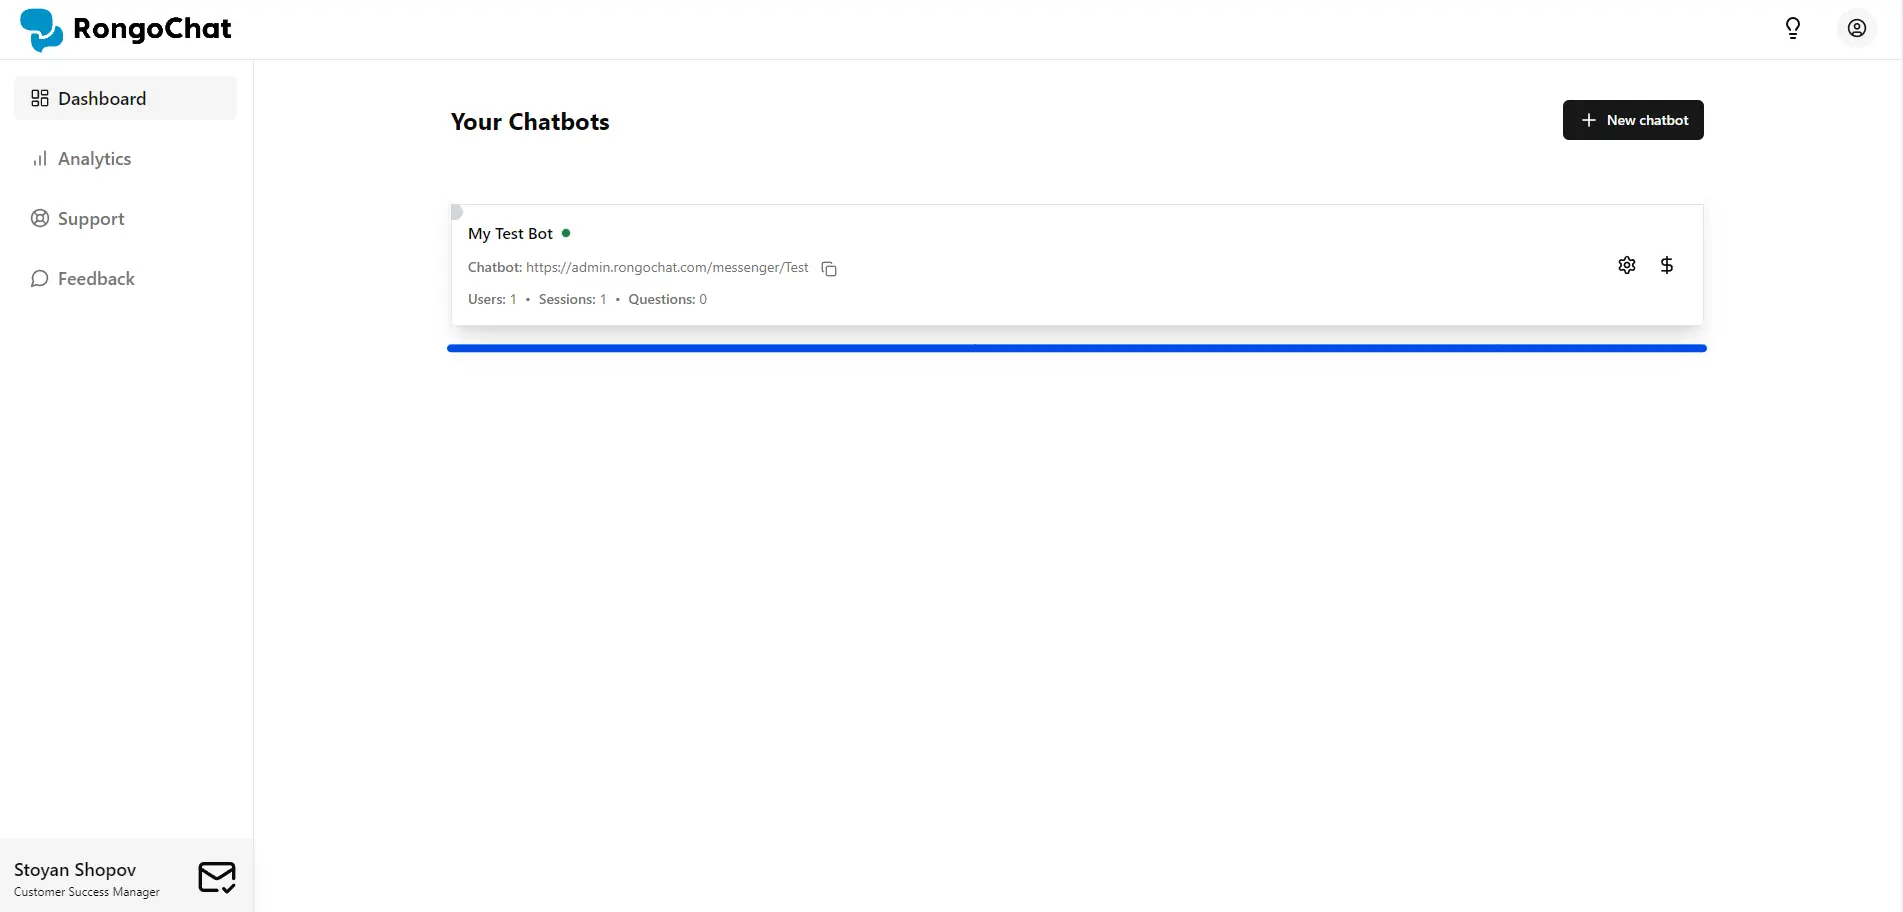
Your chatbot is now live and ready to engage with users!
Step 5: Fine-Tune, Monitor, and Integrate Your Chatbot
Congratulations! You've successfully created your first chatbot on Rongochat. But the journey doesn't end here. Now that your chatbot is live, you can continue to refine and enhance its capabilities.
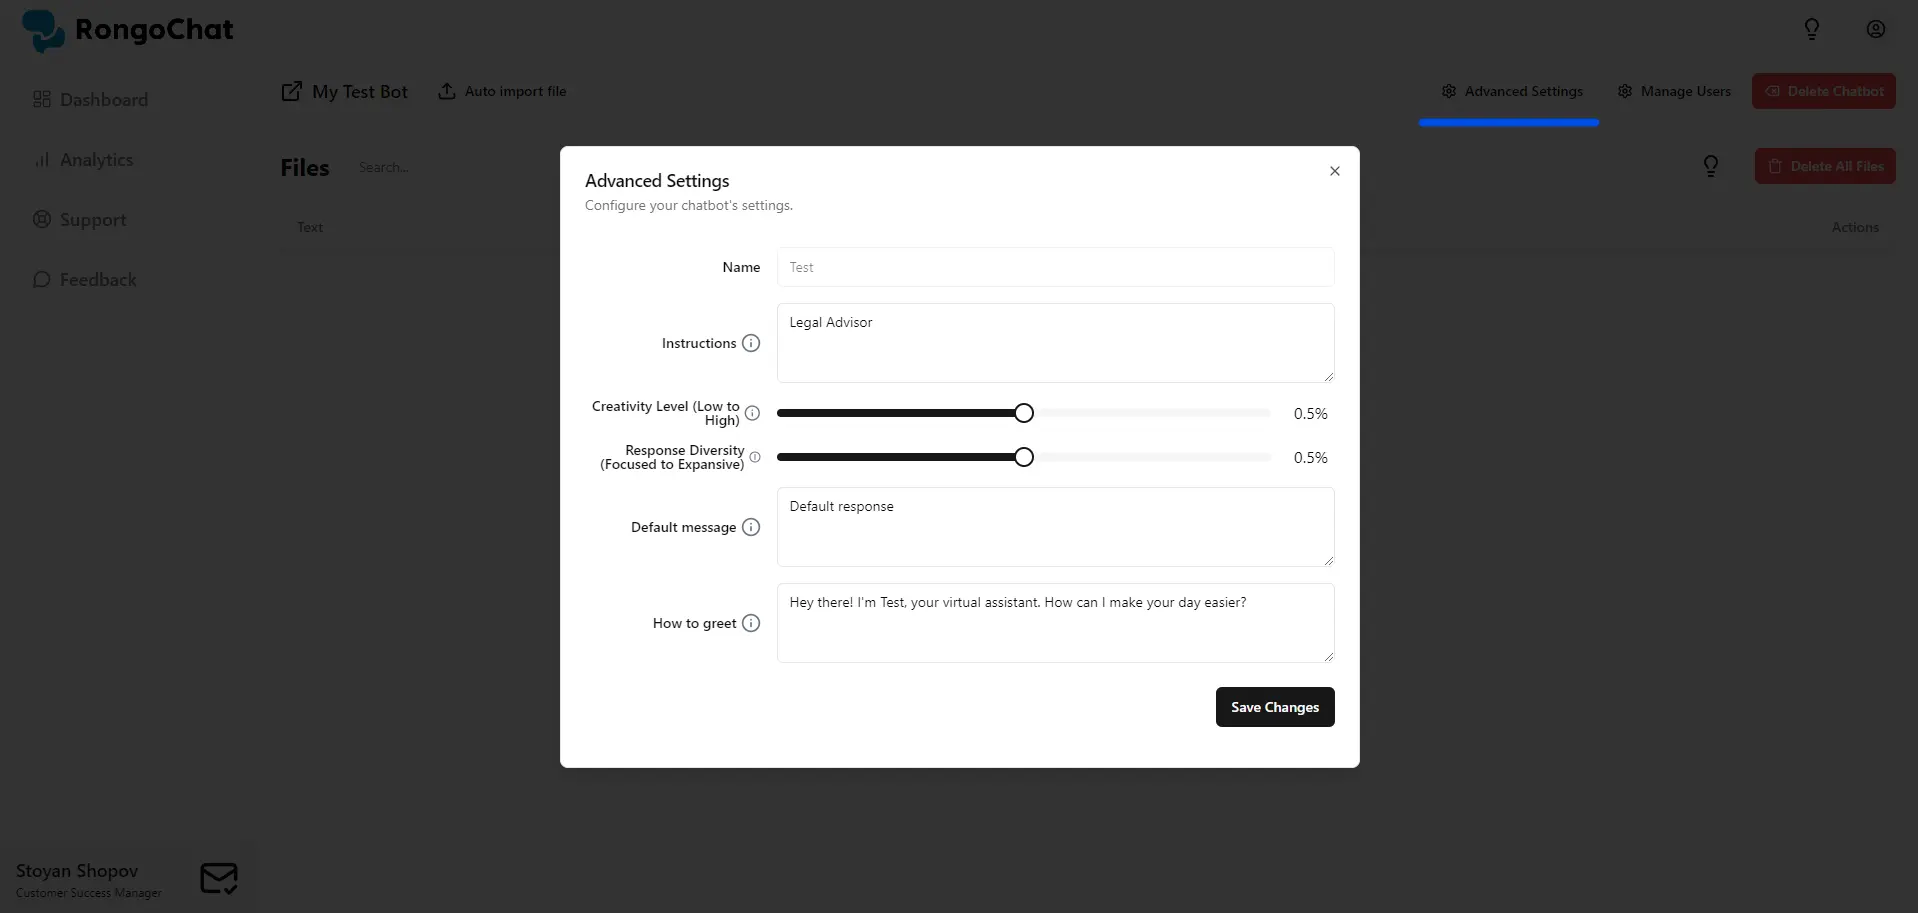
Depending on the package you selected, you can also integrate your chatbot with your website. This integration allows your chatbot to reach a broader audience.
Remember, creating a chatbot is just the beginning. With continuous monitoring and updates, you can keep your chatbot relevant, engaging, and perfectly aligned with your goals. So go ahead, explore the possibilities, and see where your creativity takes you. Happy chatting!